Summary
– Step 1: Determine the size of the composter
– Step 2: Cut the boards and 1/2 rafters
– Step 3: Treat the wood
– Step 4: Assemble the 2 side panels
– Step 5: Assemble the back panel
– Step 6: Assemble the front panel
– Step 7: Assemble the lid
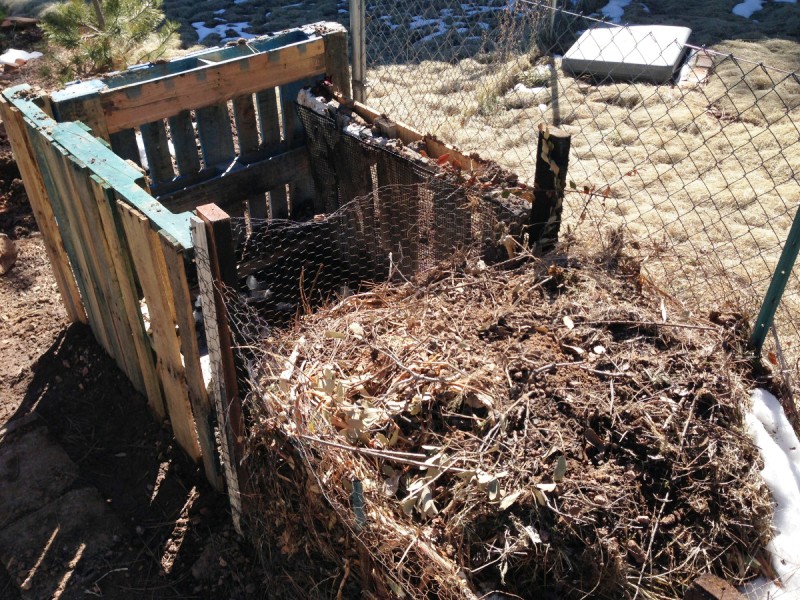
Making a composter is about making a receptacle to hold waste or organic material, thus making waste more sustainable while giving it a second life. The composter accelerates the decomposition of the waste to obtain compost. It must be in direct contact with the earth to help the arrival of microorganisms that will help the process.
To make a wooden composter, you must start by cutting your boards and half rafters to the right dimensions and then assemble the different panels that make up your composter.
Here are the necessary steps to make a wooden composter yourself.
Note: there are several types of composters, wooden, plastic, or wire mesh, and for large quantities, composting can be done in piles.
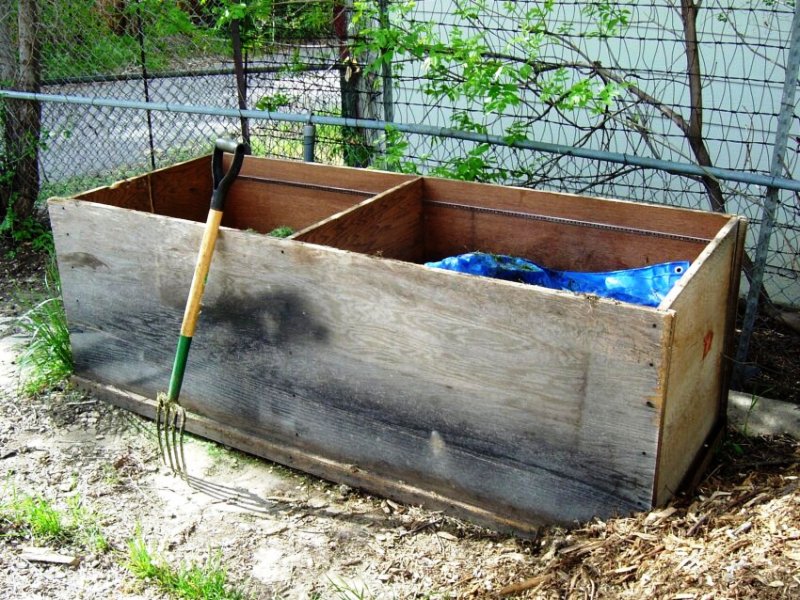
A composter is composed of the following:
– 4 panels, 3 of which are fixed and 1 movable at the front to remove the compost at the very bottom.
– The cover protects the waste from the rain and the sun while making it accessible for stirring to facilitate their aeration.
It should be placed in an accessible location, shaded in the middle of the day, and away from softwood trees.
1. Define the size of the composter
To make a composter, you must first define its size.
You need a volume of 1 liter of compost for 1 m² of the garden, or 100 L for 100 m², etc. For one liter, the composter would be a good choice.
For one liter, the composter would be a box of:
– 10 cm wide;
– 10 cm long;
– 10 cm high.
If this one measures 1 m in length by 1 m in width by 1 m in height, we obtain 1 000 L of compost.
Knowing that a person throws away about 100 kg of compostable waste in one year, a 500 L composter should be sufficient for a family of 4 persons with 100 m² of land. In this case, your composter will be about 80 × 80 × 80 cm.
You must also adapt to the size of the boards to make the work easier, and for aesthetic reasons, you should avoid cutting the boards lengthwise. Take full widths.
With the chosen boards (see table of materials), the composter will have preferably
– a height of 49 cm: feet of 5 cm + 2 boards of 20 cm + 1 cm space between the boards + 3 cm for the thickness of the lid;
– a width of 50 cm;
– a depth of 60 cm: corresponds to the width of 3 boards without space which will be used for the lid.
2. Cut out the boards and the 1/2 rafters
Prepare your cuttings
Choose a wood treated by autoclave of class 4 or class 3. The timber treated in class 3 must not be in contact with the ground; your composter must be put on 4 stones or 4 bricks at the level of the angles.
It will thus be necessary to cut the boards in:
– 5 lengths of 60 cm ( a total of 300 cm);
– 4 lengths of 57 cm (a total of 228 cm);
– 2 lengths of 53 cm (a total of 106 cm).
You will cut the first 5 lengths on one board and the other 6 on another.
You will also need to cut the ½ rafter into:
– 4 lengths of 46 cm (a total of 184 cm);
– 2 lengths of 41 cm (a total of 82 cm);
– 2 lengths of 40 cm (a total of 80 cm);
– 2 lengths of 30 cm (for a total of 60 cm);
– 2 lengths of 5 cm (for a total of 10 cm).
So two ½ rafters will be needed.
Cut the wood
Start by marking the planks and half rafters:
– Lay the wood on a flat, stable surface.
– Define where to cut by measuring with the tape measure and draw a line to keep track of the measurement.
– Take the square, place one side on the wood’s edge and align the other side with the previously marked mark.
– Then, draw a line with a pencil.
Then saw the wood:
– Position the wood on two flat, stable surfaces of equal height.
– Place the part to be cut between the two, so it remains above the void. Your saw should only cut the board or ½ rafter and not encounter any other obstacles.
– Hold the wood firmly on the longest part and start sawing.
– When you get to the end, go slowly, so the wood doesn’t tear off.
Caution: always consider the thickness of the kerf in your calculations. This slight strip is reduced to sawdust as the saw passes over it.
3. Treat the wood

To further protect the wood from moisture and frost, use linseed oil.
– Brush the oil perpendicular to the grain of the wood and then finish in the direction of the grain so that the oil penetrates well.
– Apply thin, even coats.
– Let dry for about 24 hours.
Wash your brush immediately afterward with hot soapy water and wipe it with a cloth that you will also wash afterward.
Indeed, rags impregnated with linseed oil are likely to self-combust, so wash them immediately after use.
Good to know: a mixture with turpentine is often suggested. The protection would certainly be better, but since this product is dangerous for the environment, it is better to use only linseed oil.
4. Assemble the 2 side panels
For each of the panels, take:
– two boards of 57 cm;
– two ½ rafters of 46 cm;
– one ½ rafter of 41 cm;
– a 5 cm piece.
Then assemble the panels:
– Fasten the boards at their ends to two 1/2 rafters of 46 cm using nails the thickness of a board and half that of a 1/2 rafter.
– Put 2 nails per board width and leave 1 cm between each board for ventilation.
Note: to drive the nail, hold it on the wood at the desired location with your thumb and forefinger and tap it with the hammer. Start slowly and adjust the force with which you tap, always being careful with your fingers.
– The two 1/2 rafters will protrude 5 cm from the side of the ground to form feet and prevent the boards from rotting.
– Attach a 5 cm piece of 1/2 rafter to the end of the front 1/2 rafter to stop the front panel from going down.
– For each panel, add a 1/2 rafter at a distance of 3.2 cm (one board width plus 5 mm) behind the front one. The 2 together will serve as a guide for the front panel.
Note: the small crosses on the diagrams represent the location of the nails, but they should not be visible from the inside. They are to be driven from the other side, first into the board.
5. Assemble the back panel
To assemble the back panel, you will need 2 boards of 60 cm:
– Fasten the boards directly to the 1/2 rafters located at the back of the side panels, being careful to alternate the positioning of the screws so that they are not blocked by screws already fixed in the 1/2 rafters.
– You will always leave 1 cm between each board.
6. Assemble the front panel
To assemble the front panel, you will need 2 53 cm boards and two ½ 30 cm rafters:
– Attach two 1/2 rafters to the boards about 10 cm from each edge.
– Always leave 1 cm between each board.
7. Assemble the lid
To assemble the composter lid, you will need 3 60 cm boards and two ½ 40 cm rafters:
– Attach two 1/2 rafters to the boards about 10 cm from each edge (lengthwise) and 5 cm from the edges (widthwise) so as not to interfere with the closure. Do not leave any space between the boards to avoid water penetration.
– On the same side as the 1/2 rafters, attach the hinges. Place one on each side 10 cm from each edge and mark the location of the holes with a pencil.
– Take a self-drilling screw with a head larger than the hole in the hinge. Position it in the pencil-marked places and, on each of them, tap the screw with a hammer to make a small hole that will make it easier to screw in when starting.
– Then, place the hinges by positioning a screw at the marked place and screwing with the screwdriver. Do the same for the other screws.
Be careful; only one part must be fixed on this panel, then screw the other on the inside of the back panel by repeating the same steps as before.
Materials needed to make a composter
Hinge
Flat head nails
Square
Linseed oil
Hammer
Tape measure
Brush
Handsaw
Phillips screwdriver

