Summary
– Principle of vermicomposting
– Description of the vermicomposter
– What capacity for my vermicomposter?
– Making your vermicompost
– Vermicomposting: compost recovery
– Make your vermicomposter
Principle of vermicomposting
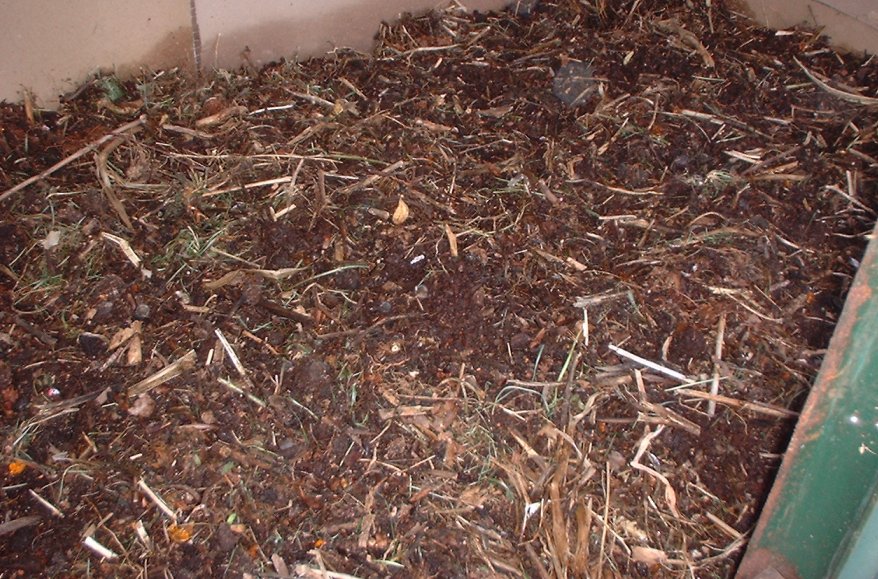
Vermicomposting is a composting technique based on the rearing of red worms that decompose matter.
The worms feed on organic matter and produce two kinds of compost: liquid and paste-like.
Once the waste has been transformed, the worms go to the upper level to change the new waste.
Vermicomposters are quite expensive on the market, so it is more interesting to make them yourself.
By stacking several bins, about three in number, the solid compost can be collected in a final bin at the bottom of the structure. The liquid compost is recovered on the penultimate bin and must be put in a canister to finish its maturation. It can then be used as liquid fertilizer.
Description of the vermicomposter
The vermicomposter is ideal for small areas, on balconies, in a veranda or garage.
There are different structures for the vermicomposter (vertical, horizontal, turntable); however, the principle remains the same.
The vermicomposter consists, in general, of four containers made of plastic or untreated wood:
- the first bin contains the solid compost,
- the second bin has the decomposing compost,
- the last bin contains the added waste,
- the bottom tray collects the juice.
Good to know: you can add a honeycombed geotextile felt in the first bin to prevent the worms from falling into the bottom of the vermicomposter.
What capacity for my vermicomposter?

Here are a few criteria that will help you choose the capacity of your compost bin:
- Each bin should be between 20 and 30 cm deep.
- 10 cm² requires about 450 g of worms.
- It is advisable to use about 500 g of worms for a two-person household.
- Opt for 1.5 kg for a four-person household.
Making compost with a vermicomposter is relatively simple:
- Fill the first bin with waste while leaving the bins together.
- Once the decomposing waste is advanced, fill the second bin to allow the worms to move to the upper level.
- Don’t remove the first bin too quickly to let all the worms access the second bin.
- Do the same between the second and third bins.
- When you remove the bottom bin to collect the maturing compost, you must swap the other bins so that the compost matures and the worms can move to the upper floors.
You can collect the juice at any time with the tap.
It would help if you also thought about covering your vermicomposter because the light or too much heat can kill the worms and stop the composting process.
Vermicomposting: compost recovery
Two substances to be recovered: the liquid resulting from decomposition and the layer of material :
The liquid that flows along the walls can be recovered and used as liquid fertilizer. It needs to be isolated for longer to mature. Be careful not to use it on seedlings or fragile plants.
The solid vermicompost to be recovered is the decomposed material that is deserted by the worms.
Good to know: You can feed the second tray with the material that has not yet matured from the tray at the bottom of the structure.
Making your vermicomposter
Prices for vermicomposters are relatively high on the market. You can make your vermicomposter.
- Get at least four bins, either plastic or wood, 20 to 30 cm deep.
- Drill 6 to 8 mm diameter holes in the top three bins so that juice and worms can pass through.
- Drill a hole in the bottom bin to add a tap.
- Stack the bins one on top of the other.
- Cover it, and you are now ready to save our planet by using your vermicompost!
- Please, remember to share your comments in the section below.


1 thought on “Vermicomposting: Raising worms to compost your waste ”